
Security vulnerabilities are inevitable and as time rolls on, we’ve built ways to prioritise and automate remediation. A common approach to resolving security vulnerabilities is to release a new version of an application that addresses the weakness.
In most cases, software vendors do a reasonable job at making this process as painless as possible. However, I recently stumbled across the need to update the FortiClient VPN and this was far from intuitive.
It turns out, Fortinet don’t natively support automatic updates of FortiClient unless you pay for their premium product - that’s not great for customers that don’t need any of the extra bells and whistles.
Below is how I automated the deployment of the updated FortiClient using Microsoft Intune.
Initial setup
Grab the latest installer
Browse to https://www.fortinet.com/support/product-downloads, and download VPN for Windows.
Extract the MSI
Running FortiClientVPNOnlineInstaller from the previous step will present you with a popup showing the download progress. Once the download is finished, the installer will launch. Leave this open in the background.
With the installer open, navigate to: %ProgramData%\Applications\Cache\{look-for-the-latest-UID-here}\<version>
Make a copy of the MSI (FortiClientVPN.msi) as it will be removed when the online installer is closed.
Export working config
On a machine with the VPN already configured, export the configuration to an XML file.
C:\Program Files\Fortinet\FortiClient\FCConfig -m vpn -f staff-vpn.xml -o export -p <enter-password-here>Create installer
Create a batch file called fortiVPN-install.cmd
@echo off

set PASSWORD=<enter-password-here>
msiexec.exe /i FortiClientVPN.msi /norestart /qn LicenseAccepted_XP=1 FEATURE_SEL_SECFABRIC=0 FEATURE_SEL_SECACCESS=1 FEATURE_SEL_ADVPROTECT=0 FEATURE_SEL_ADDITIONALS=0 FEATURE_SEL_AV=0 FEATURE_SEL_WF=0 FEATURE_SEL_SSO=0 FEATURE_SEL_FW=0 INSTALLLEVEL=3

"C:\Program Files\Fortinet\FortiClient\FCConfig" -m vpn -f staff-vpn.xml -o import -p %PASSWORD%
Bundle the artefacts
Create a new directory and place the following items inside:
– staff-vpn.xml (the VPN config)
– FortiClientVPN.msi (the new VPN client binary)
– fortiVPN-install.cmd (the installer script)
Build and deploy the app
Create a custom intunewin file
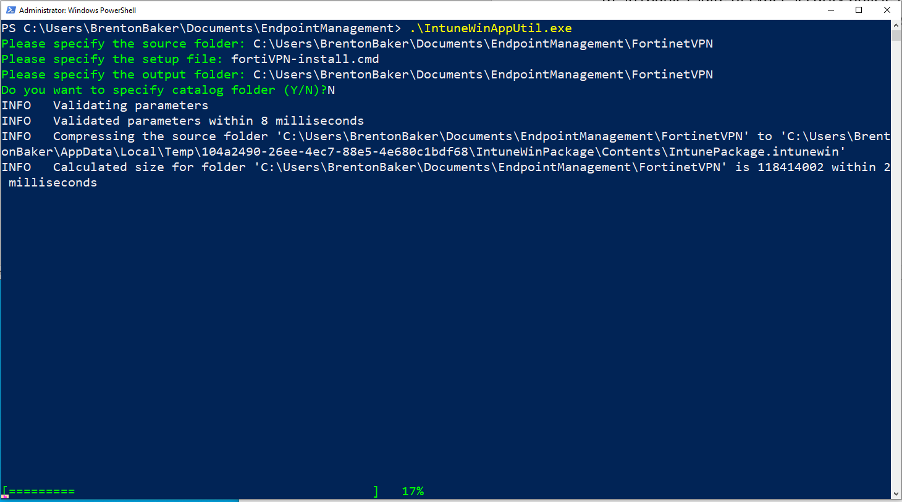
Using the Microsoft Win32 Content Prep Tool, build the custom intunewin file. Once finished, the tool will output fortiVPN-install.intunewin
Create a new intune app
Browse to https://endpoint.microsoft.com Click Apps > Windows > Add > select the app type as Windows app (Win32). Select the intunewin file created in the previous step and click OK

Complete the mandatory fields in the Add App options and click Next.
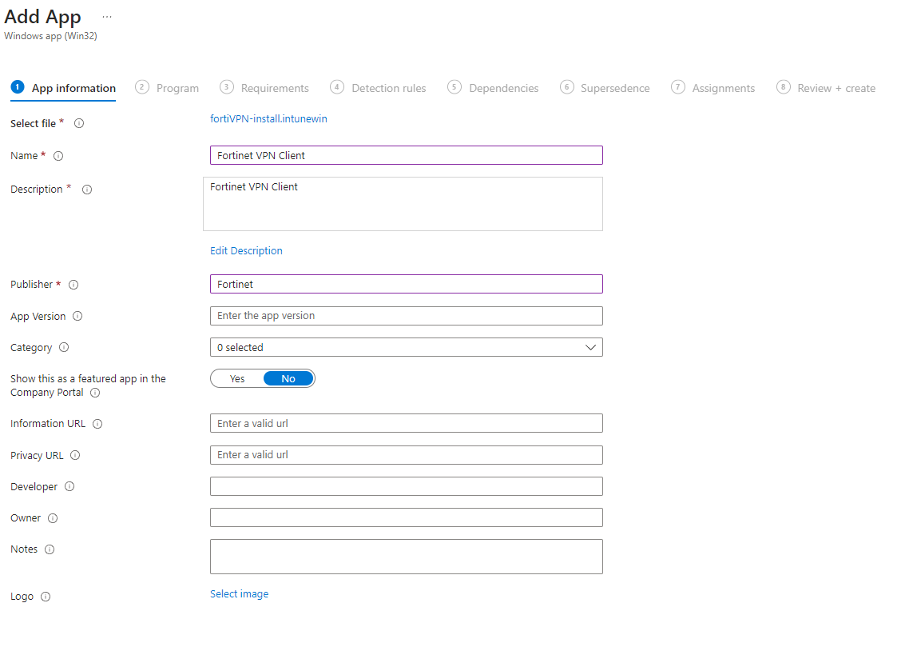
In the Install command, enter fortiVPN-install.cmd
In the Uninstall command, enter `msiexec /x FortiClientVPN.msi /qn /norestart and click Next.

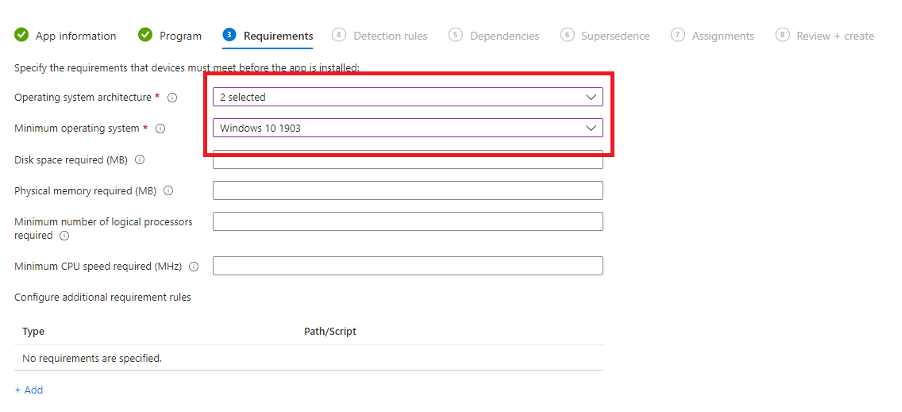
Complete the two mandatory fields in the Requirements options and click Next.
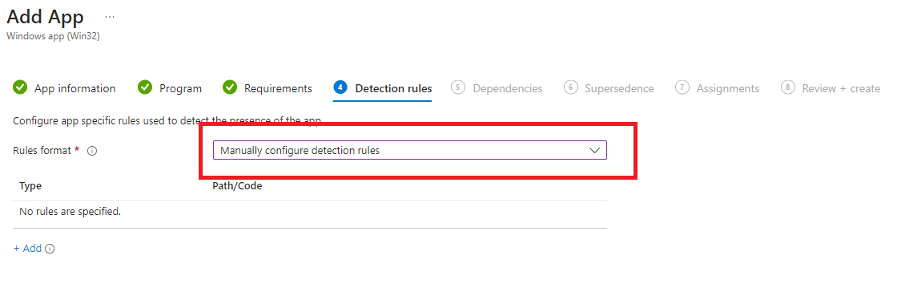
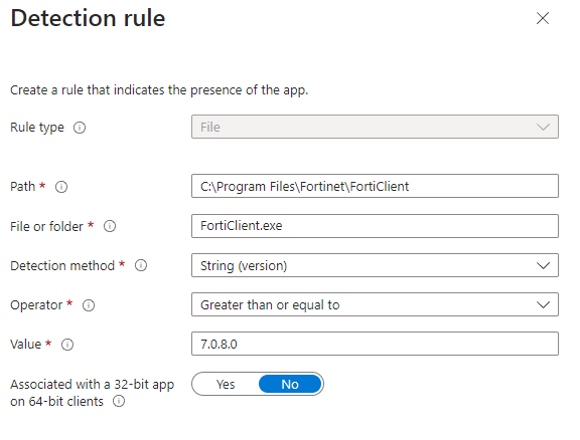
Select Manually configure detection rules, complete the fields as per below (note, you’ll need to enter the version number you’re deploying in the Value field). Click OK and Next.
Assign the app to a device group and click Next.

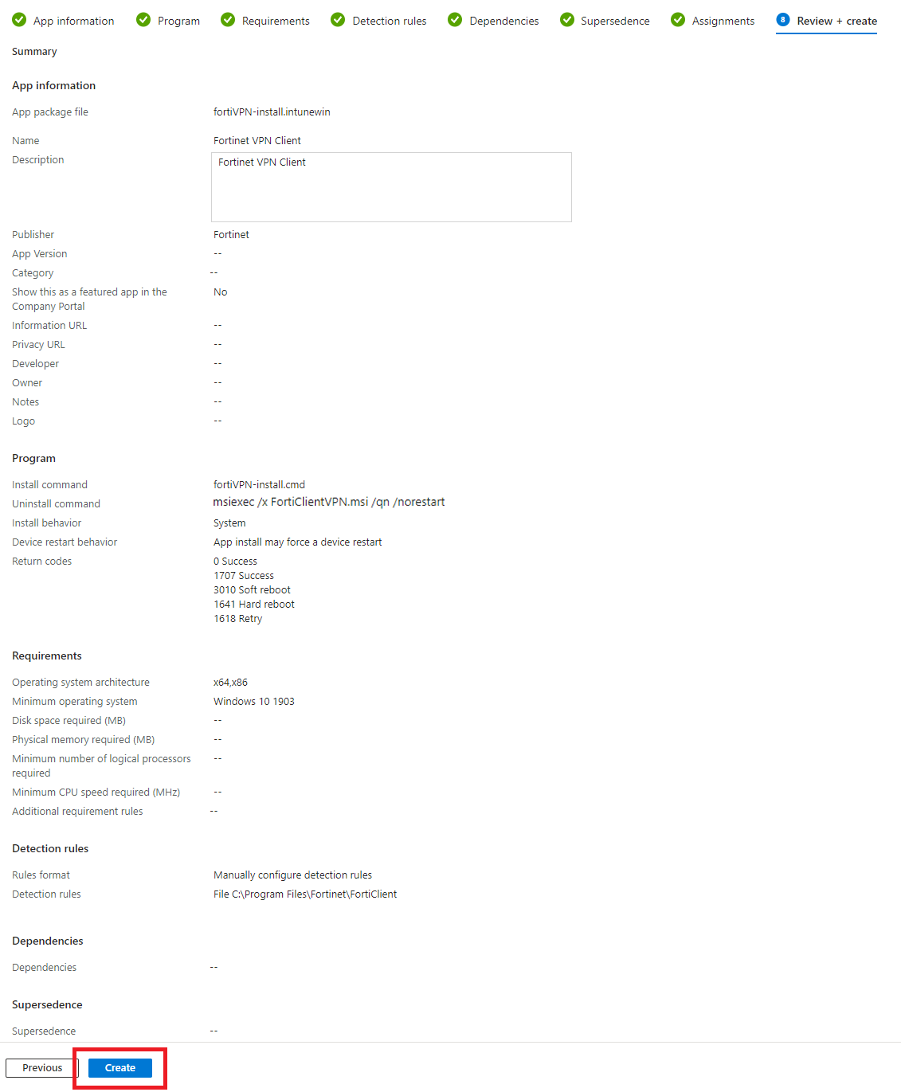
Review the options on the Review + create screen and click Create.